Clover Integration
Connect your Clover POS system to sync menu items and sales data with Happy Bar.
Happy Bar integrates with Clover to automatically sync your menu items and sales data. This eliminates manual product entry and gives you sales-driven analytics to make smarter inventory decisions.
Prerequisites
Before connecting Clover, make sure you have:
- A Clover merchant account with API access
- At least one location set up in Happy Bar
- A subscription plan that includes POS integrations (check Settings > Billing for your plan details)
1. Navigate to Integrations
From your dashboard, go to Settings in the sidebar, then click the Integrations tab.
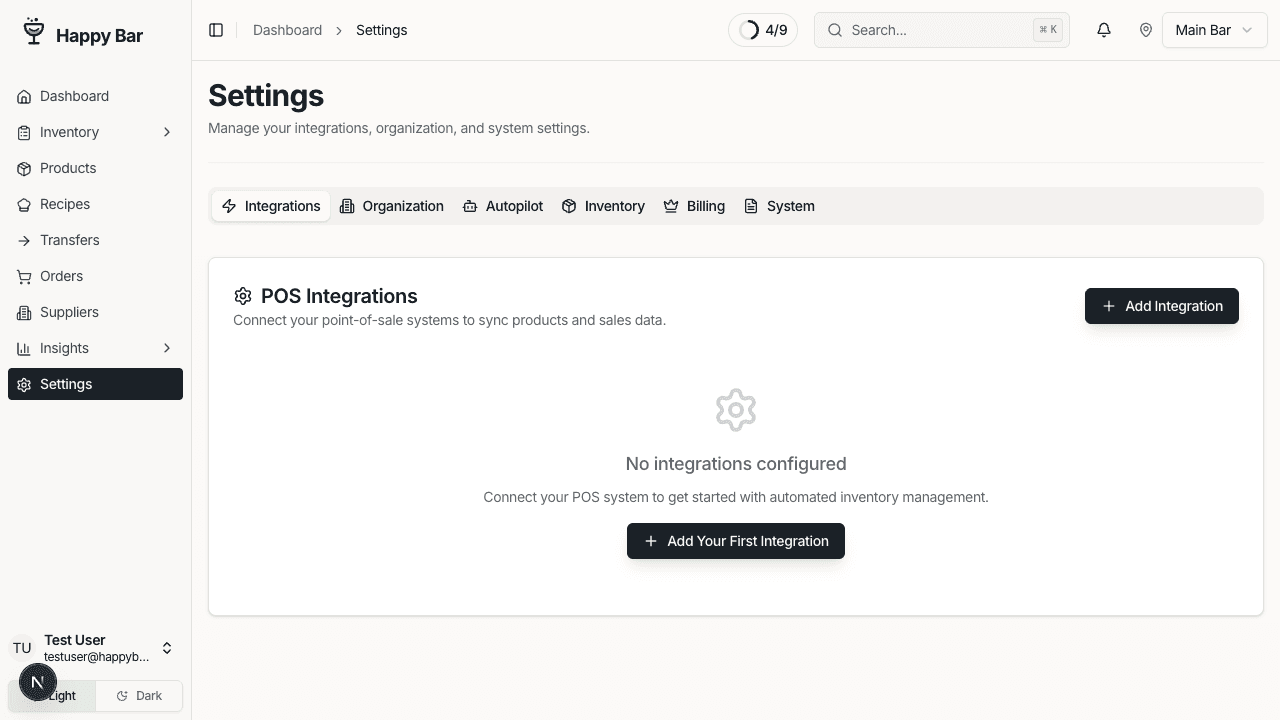
2. Add a New Integration
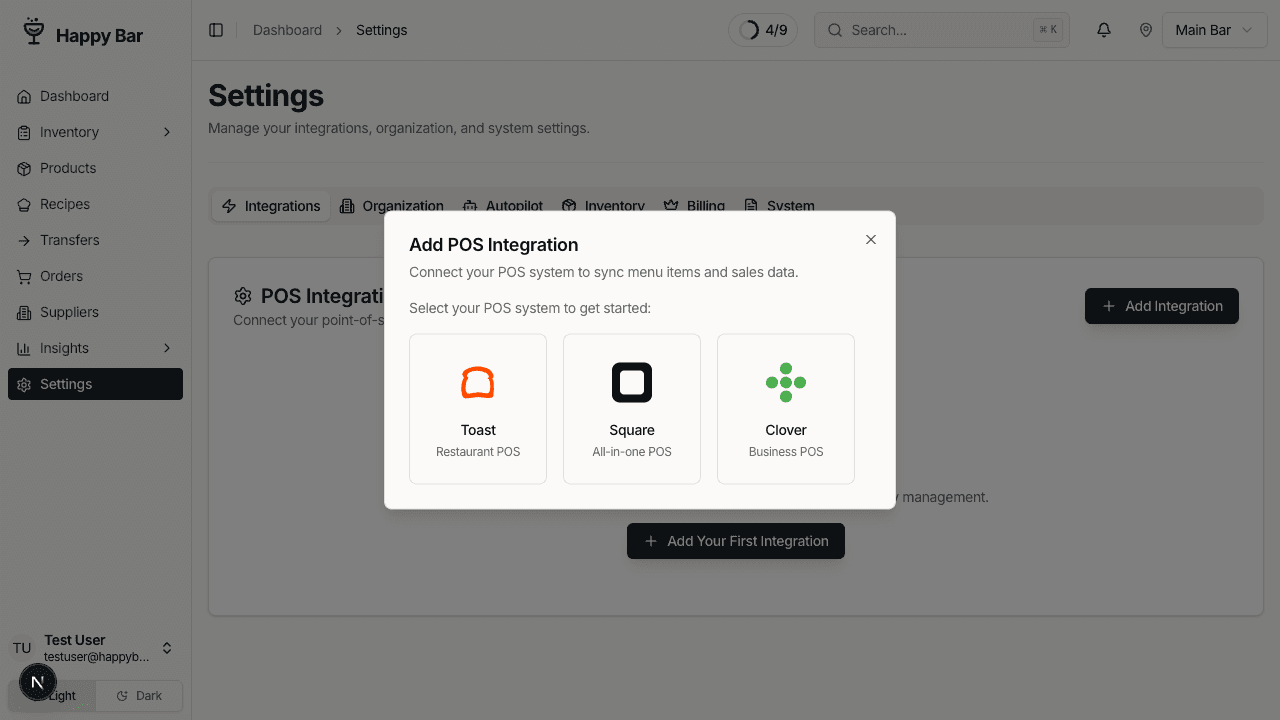
Click Add Integration. You'll see the available POS systems:
- Toast
- Square
- Clover
Select Clover to continue.
3. Configure the Integration
Fill in the integration details:
- Integration Name — a descriptive label (e.g., "Main Bar Clover" or "Downtown POS")
- Location — select the Happy Bar location this Clover account maps to
Click Connect to start the Clover OAuth authentication flow.
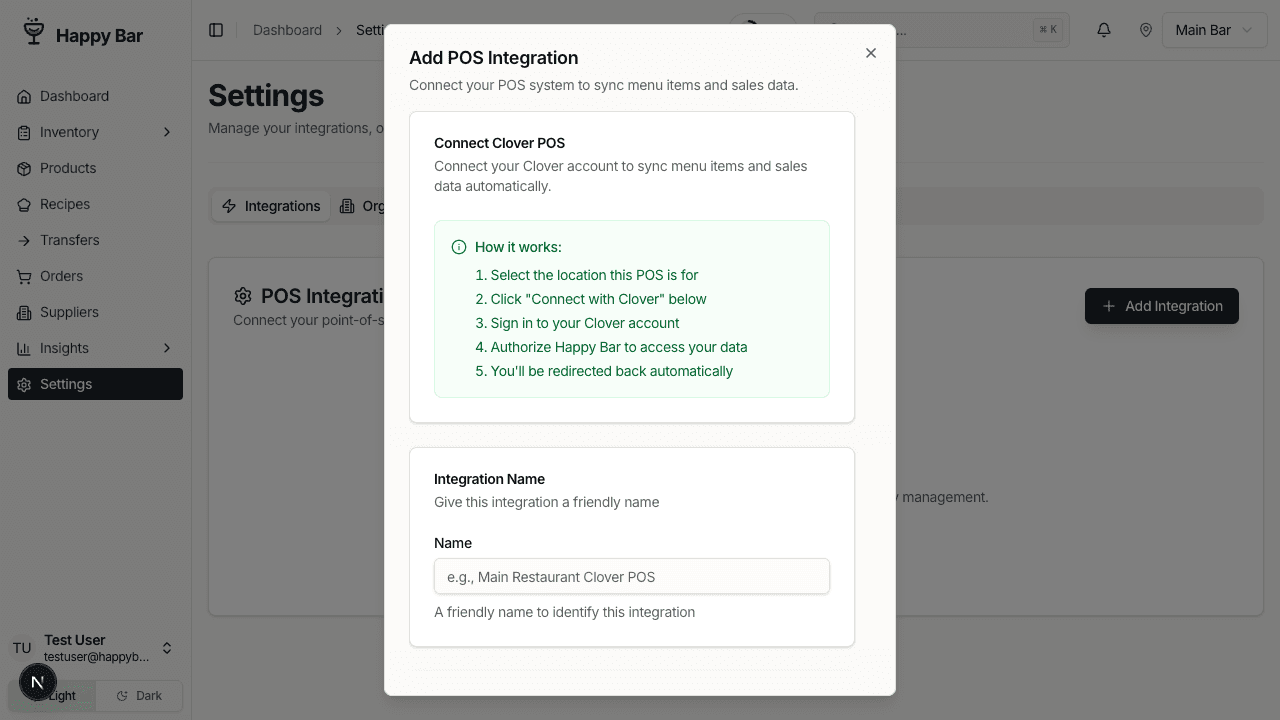
4. Authenticate with Clover
You'll be redirected to Clover's login page. Sign in with your Clover merchant credentials and authorize Happy Bar to access your account data.
After authorization, you'll be redirected back to Happy Bar. The integration will appear in your integrations list with a Never Synced status.
5. Test the Connection
Before syncing data, click the three-dot menu on your integration and select Test Connection. This verifies that Happy Bar can communicate with your Clover account.
If the test succeeds, you'll see a confirmation message. If it fails, check your Clover credentials and try reconnecting.

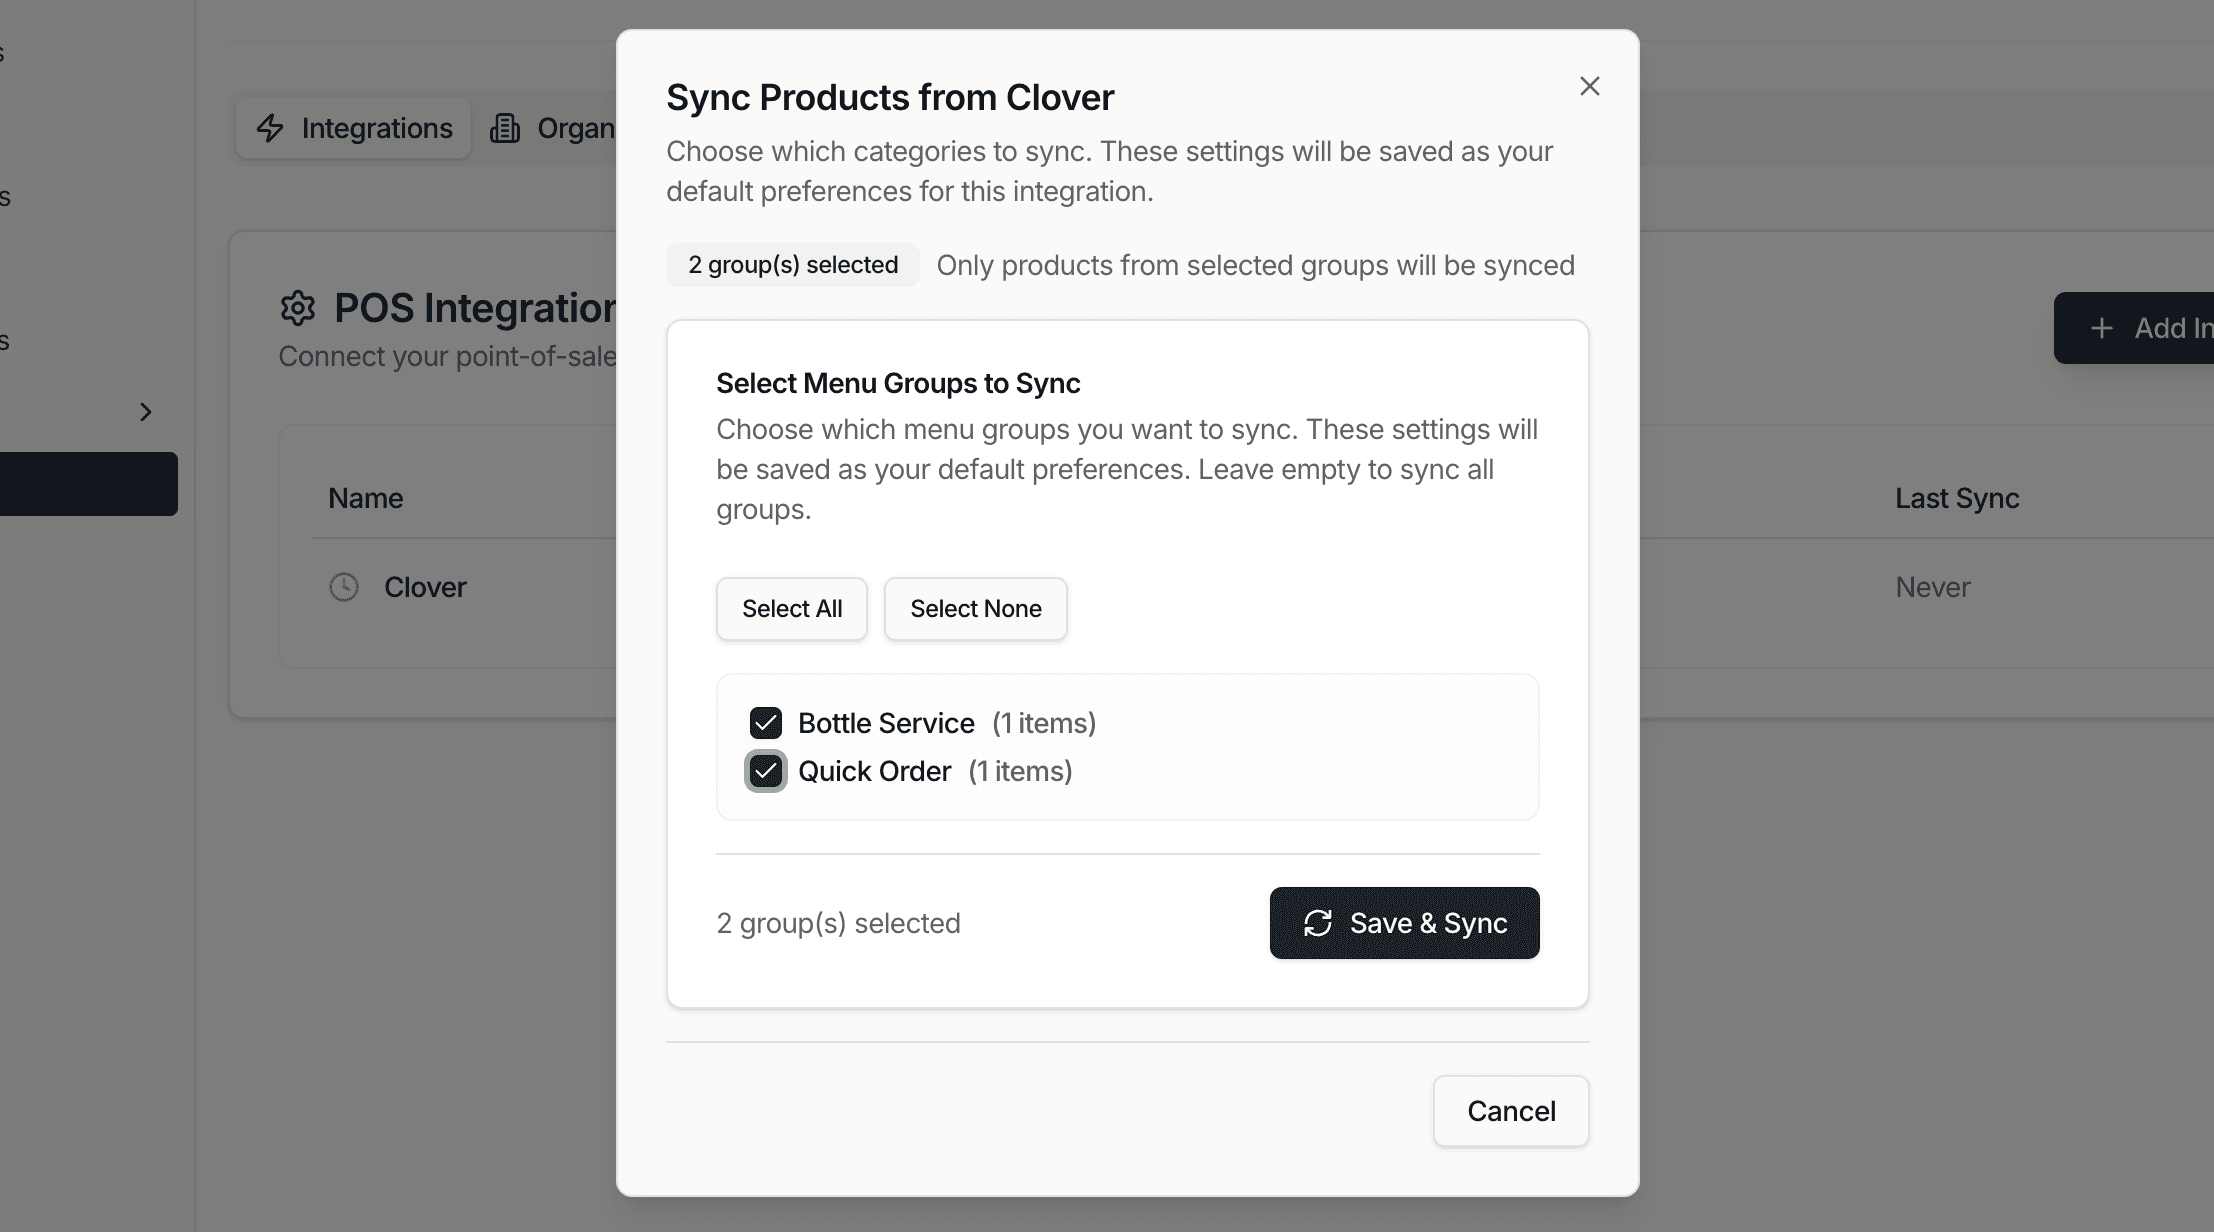
6. Sync Your Products
Click the three-dot menu and select Sync Data. A dialog will open where you can:
- Select menu categories to sync — choose which Clover menu groups to import
- Review the categories before importing
Click Start Sync to begin. Happy Bar will import your Clover menu items as products, mapping names, prices, and categories.
After syncing, the integration status will update to Success with a timestamp showing when the last sync occurred.
7. Review Synced Products
Navigate to Products to see your imported items. Products synced from Clover will show a mapped badge next to their sell price, indicating the price comes from your POS.
You can edit any synced product to add additional details like:
- Cost per unit and cost per case
- Supplier associations
- Par levels
- Storage area assignments
8. Sync Sales Data
After your initial product sync, Happy Bar will automatically pull sales data from Clover. This data powers:
- Usage-based ordering — order suggestions based on actual sales velocity
- Variance analysis — compare counted stock against expected levels (based on starting stock minus sales)
- Product performance — see which items sell fastest and which sit on shelves
Managing Your Integration
Integration Status
Your integration will show one of these statuses:
| Status | Meaning |
|---|---|
| Never Synced | Integration is connected but no data has been pulled yet |
| Syncing | A sync is currently in progress |
| Success | Last sync completed successfully |
| Error | Last sync encountered a problem |
Re-syncing Data
To pull the latest data from Clover, click Sync Data on your integration at any time. This is useful when you:
- Add new menu items in Clover
- Change prices in your POS
- Want to refresh sales data for ordering recommendations
Removing an Integration
To disconnect Clover, click the three-dot menu and select Delete. This removes the integration and its synced data mapping. Your products will remain in Happy Bar but will no longer be linked to Clover.
Troubleshooting
Integration shows "Error" status
- Click Test Connection to diagnose the issue
- Verify your Clover account is still active
- Try disconnecting and reconnecting the integration
Products didn't import
- Make sure you selected at least one menu category during sync
- Check that the selected categories contain active menu items in Clover
Sales data not updating
- Verify the integration status is Success
- Make sure you have run your first inventory count
- Sales data is synced on a cron schedule. It may take up to 12 hours to see latest sales data
Next Steps
Now that your POS is connected, you can:
- Take an inventory count to establish your starting stock levels
- Set up par levels and ordering to use sales-driven reorder suggestions